 Following up on my post Doing it Right the First Time, we are nearing the completion of our kitchen project- three years after renos began. Oh the last couple weeks have been painful! Mat asked at one point, "Were we anywhere close to 80% done?"
This is why we don't finish things- the little details are a major pain in the derriere.
Crown moulding, fiddly painting, removing wall sockets, connecting lights. We've procrastinated on this stuff for a reason: its fiddly and doesn't quite have the KAZAM of new cork flooring, efficient shiny appliances, and countertops. In fact, all this work and most of our guests don't seem to notice right away that anything is different.
But the truth is, I notice. One of the finished details I'm most excited about is our cabinets.
Mat built the cabinets around the fridge and stove from scratch and we saved what we could of the original base cabinets on the east wall. While this method we saved money and landfill space, we've had some troubles: a couple of the doors never closed right and the paint chipped after only a year. This stuff bugged us both on a regular basis- and now, after much cursing, it is fixed it!
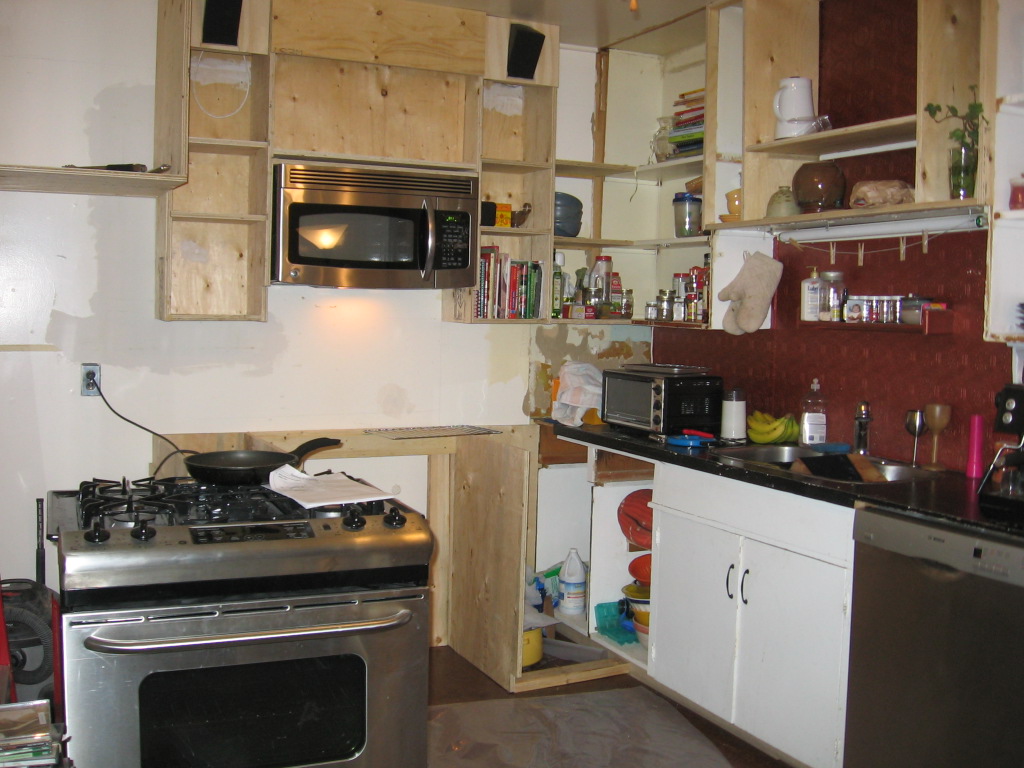 |
| We kept all the base parts of the original cabinets on the wall to the right. Mat then had the tricky job of making doors for both new and old sets of base cabinets. This was his first time with such a project- pretty handy guy, eh? |
 |
| Note the speakers at the ceiling flanking the microwave? They were the first thing on our list of 'additions'. Best call we could have made! |
 |
| What do you think- should I add a final layer of wax to buff them a bit? |


1. Mix 8 parts water with 1 part white (or any colour) paint
2. Using a rag and literally wash the surface
3. After a couple minutes of dry time, go over the area again with a clean, dry cloth to smooth out the streaks
4. Repeat if necessary.

The finished look isn't for everyone, but I think it suits our kitchen perfectly.
4 comments:
Well, you know what they say - "If the women don't find you handsome, they better find you handy!" I spent three years being embarrassed about that cabinet door that didn't close... I think it's OK now!!
Are you flirting with me?
I'm hoping the bathroom we started this year doesn't take three years. We're having the same kinds of problems with cabinets and they take more skill and time to fix than putting the flooring and tiling with less payback. Your kitchen looks great and probably feels really good to be done.
beautiful kitchen guys! Great job Mat. Cabinets are tricky aren't they.
Post a Comment